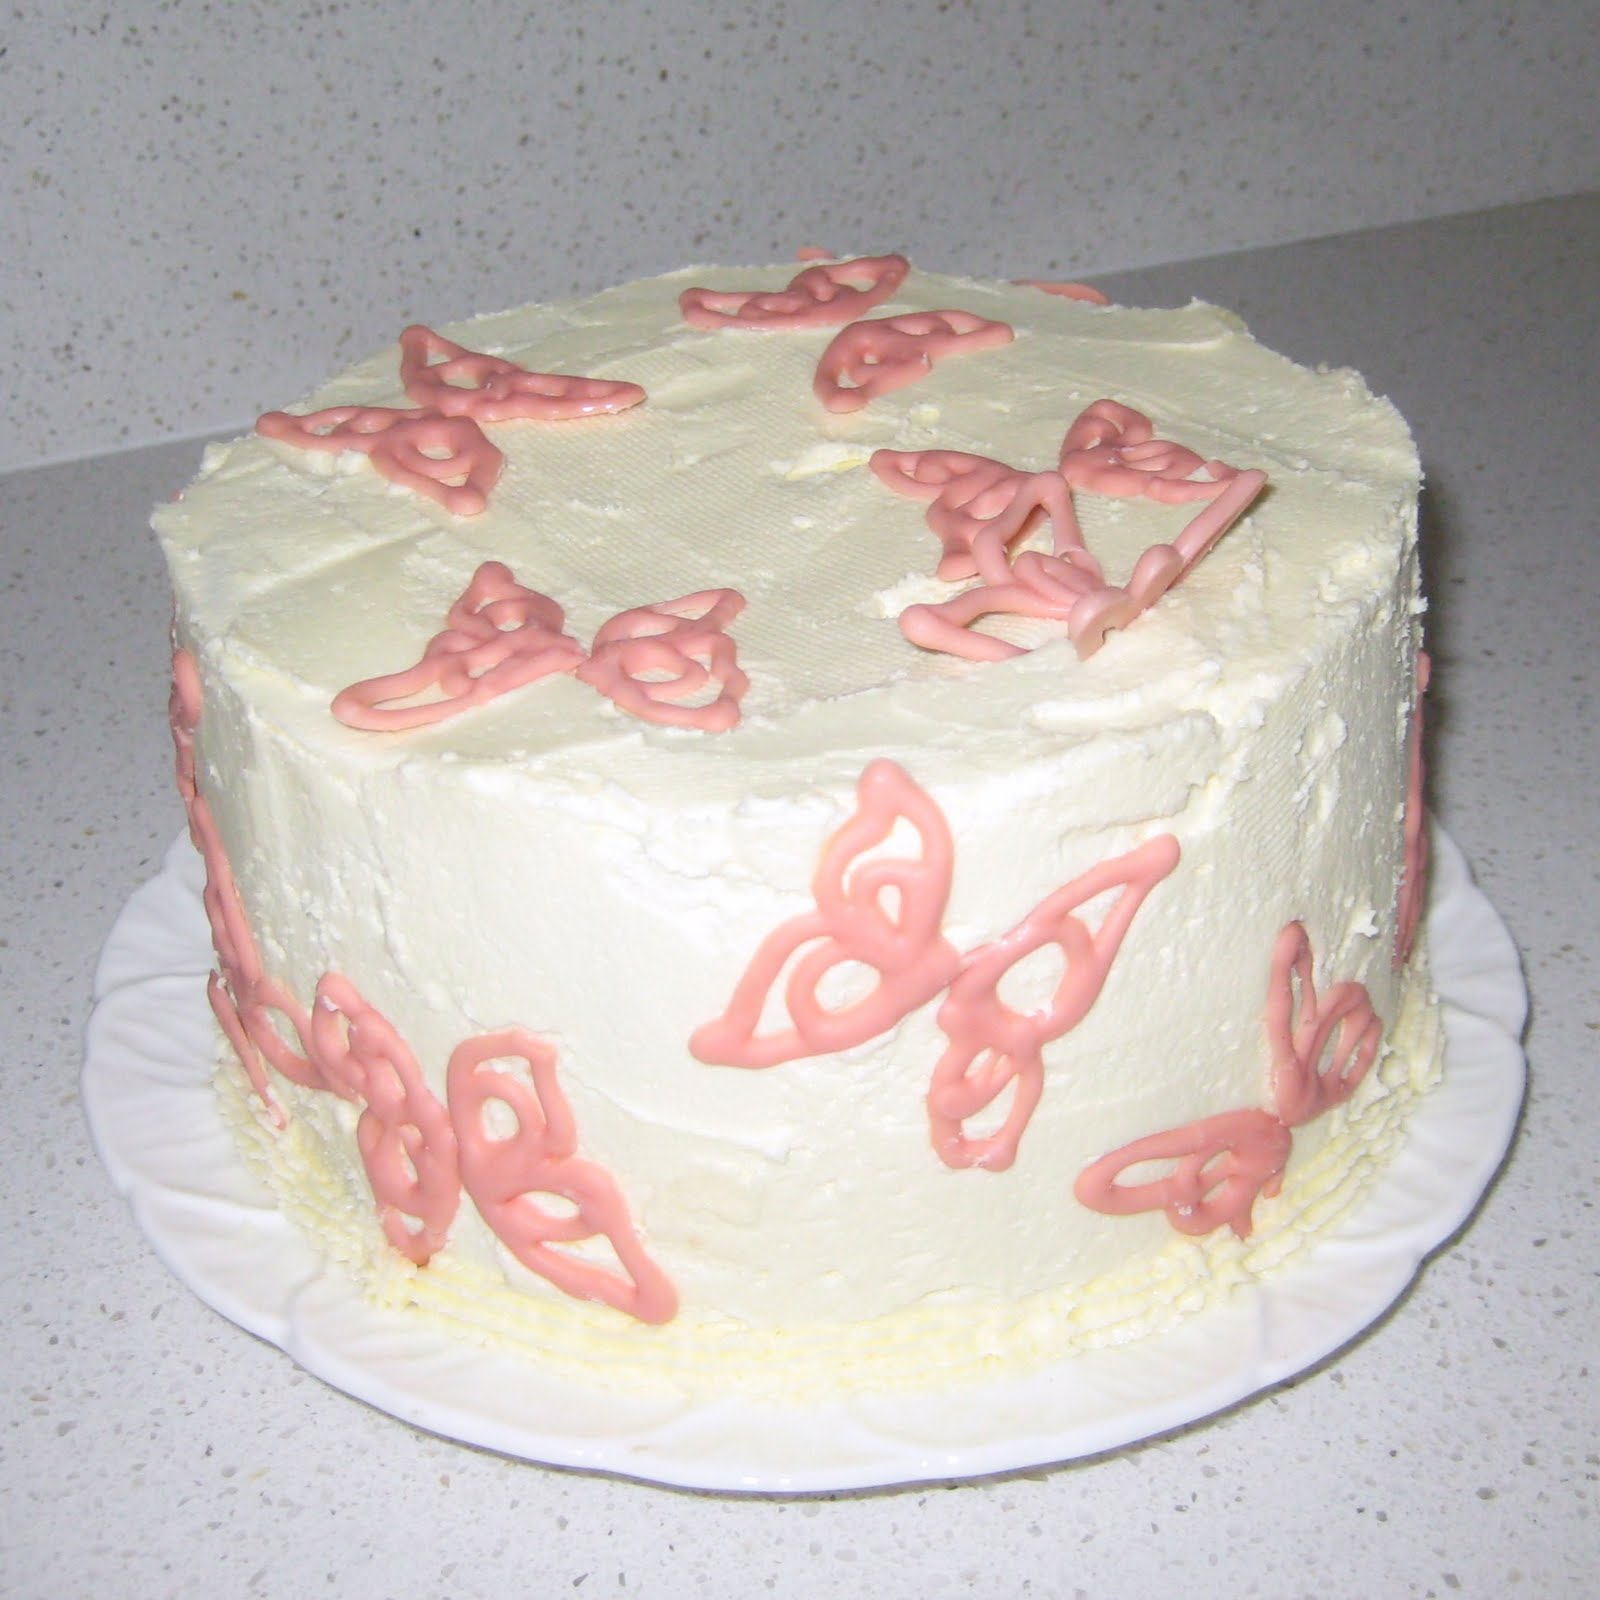
Thanks for the commission, Jean!
Thursday, March 31, 2011
Thursday, March 24, 2011
A little something on the side
It's not that I haven't been busy, I've just been elsewhere - at Vintage Papercuts. Please come and visit, or see you at our market stall on Saturday 26 March 2011 at Greenwich Public School, 32 Kingslangley Road Greenwich.
Labels:
Paper Craft
Sunday, March 13, 2011
A 21st birthday tower
The component parts:
- 60+ cupcakes
- 70+ chocolate butterflies
- 2 cups of buttercream
Labels:
Butterflies,
Cakes,
Cooking
Saturday, February 12, 2011
Cakes fit for a princess
Do you have a little princess in your life? Here's a simple cake decoration, made with coloured white chocolate, that will (literally) crown your next lot of cupcakes!
Here's the how to:
2. Melt and colour white chocolate. (For Australian residents, it seems Spotlight now have colours for white chocolate, amongst their party / cake supplies [at least at Birkenhead Point, Sydney]. This colour was achieved using the red.)
4. Snip corner off bag for piping. If you are concerned about using snap lock bags for piping, the Mega Crafty blog shows you how to reinforce your zip lock bag for piping.
5. Retrieve tart tray from freezer. Pipe a line of chocolate across the deepest part of the pan, side to side.
6. Choose a mid point, and pipe loops above it, starting and finishing on the first line. Continue to pipe loops starting and finishing at roughly the same point. Five or six loops should do it.7. Pop tray into freezer.
8. In 5 minutes chocolate tiaras should be set, and can be slid from the tray.
9. Make cupcakes, slather on the butter icing, and crown with a tiara. Ta-da!

Thank you to my friend Sarah, who not only (cleverly) had a daughter with a party this weekend, but made the cupcakes and took photos of them.
Monday, February 7, 2011
I made the front page of Babyology!
So, not much "making" as such going on, but a whole lot of self promotion! My earlier post about Austin's 3rd birthday was turned into an article for Babyology:
Labels:
Parties
Tuesday, January 11, 2011
I made the top 3!
Thank you Craft Cossip and all the readers of Craft Gossip for making me top 3 in 2010!
Labels:
Pettiskirts,
Sewing
Wednesday, January 5, 2011
A cake for Lisa
It was Lisa's birthday while I was visiting Perth so I whipped this little number up for her:
And here's what I learnt. Don't make the chocolate butterflies too flimsy, or they are hard to work with. And if you put a ganache covered cake in the fridge it will sweat when it comes out of the fridge. But then when it's summer in Perth you don't have much choice. And it was delicious!
Labels:
Butterflies,
Cooking
Sunday, December 12, 2010
Take one "free size" kaftan...
I loved the fabric, and it was half price, so I thought I'd see what I could do with it...
![]() |
| How it looked on the website |
| How it looked on the floor |
| Next step - sew offcuts together |
| A little work with the scissors and sewing machine, and "Voila!" |
Labels:
Sewing
A pettiskirt for Jess
Jess' Mum asked me to make a pettiskirt for her for Christmas. She asked me months ago - so when did I start? Last Friday, of course! But it turned out well - in fact I think it's the best one yet! The bottom layer is about 12m long. The frill used at least 35m of chiffon ribbon.(Looks familiar? Sue said she wanted one just like the one I'd make for the Greenwich School Fundraiser). Thank you Sue for being my first paying customer.
Labels:
Pettiskirts,
Sewing
Monday, December 6, 2010
Costumes for a (small) class production of Little Red Riding Hood
When my 6 yr old son came home from school and said he and his friends wanted to perform "Little Red Riding Hood" for the class, I sprang into action.
We needed an axe for the Woodsman (cardboard, tape, tin foil, on a stick), a mask for the (Big?) Bad Wolf (downloaded, laminated, cut and strung with elastic) a no sew hood for Red Riding Hood (from A Simple Nest - thank you!) and a granny's bonnet (old pillowcase, cut into a circle, create a casing for elastic, thread elastic through), and a basket to carry it in. Done!
Sunday, October 31, 2010
Halloweening
Halloween in Australia is basically a festival pushed by retailers to sell more stuff. The only way to retaliate is to not buy, but make stuff. And when your son wants to be one of these (a Weeping Angel from Doctor Who), you don't have a choice.
The body of the costume was made with some fabric scrounged from The Fabric Cave, a remnant warehouse, for $6. It was some sort of polyester. I sewed it into a large tube, leaving the top and bottom open, and spaces for sleeves. I then gathered the shoulders, and made a casing for a ribbon around the neck. So the neck is big enough to step into, then tightens with the ribbon. An elastic band around the waist pulls it in for the draping effect. It was easier to do sleeves than to think about how to colour arms!
Slots were cut in the back to allow the wings to poke out. I also made a casing around the hem and inserted a wire coathanger for weight and shape.
And we painted Thomas' ears grey, and sprayed his hair grey too. Next time we'll paint the hands as well!
Gratifyingly, some people on the Trick or Treat trail recognised what he was dressed as!
More Missoni
Regular readers will now realise I am mad for Missoni. What you see on this site is only a small porportion of the yardage I have of it. I even have a skirt I made a year ago that I have no photos of. Like the owner of Tessuti, where I buy most of my fabric, I swore "no more". But then the owner/buyer for Tessuti saw this, and like me, she couldn't resist.
Why a jacket/cardigan and a skirt? Because for 1.3m of fabric, you can get both, given the width of the fabric. You could make a dress instead, but I think two pieces is more versatile.
Friday, October 15, 2010
I made a movie!
Here's the movie on YouTube, made with Windows Movie Maker and some online tools for converting music to the right format.
Saturday, September 11, 2010
Austin's 3rd birthday
As featured on Babyology!
Have you ever seen those pictures of impossibly glamorous party tables with colour co-ordinated cupcakes and napkins and party favours? Well, I gave it a go. The theme was red, white and (two colours) blue bunting. Thank you to Creature Comforts Blog for the printable cake bunting and cupcake toppers (which also went on the party hats and party favour noodle boxes), to Sally of Tiddalids for the beautiful fabric bunting (look closely - or click on the picture to make it bigger - to see it in the tree behind the table), and to Kate Landers Events for the printable "happy birthday" bunting strung between the cake stands.
Saturday, September 4, 2010
A pettiskirt for Darcy
It turns out that Darcy's birthday is the same day as Austin's, so that seemed like as good an excuse as any for making her a pettiskirt. And I figure the more I make the easier they get????? So much so I have gone back and revised my original tutorial...
My earlier attampts were never as full as the ones you can buy, and the only way around this is to make the bottom layer longer. In my original pattern I had 6 pieces in the bottom layer - ie about 9.6m of fabric. This time I put 8 pieces in - ie 12.8m. The only limitation is the amount of fabric you have and your patience.
![]() |
| And the happy recipient! |
Labels:
Pettiskirts,
Sewing
Friday, August 20, 2010
Biscuits for the Greenwich Public School election day cake stall
Saturday 21 August 2010 is Federal Election day in Australia, and as my son's primary school was a polling booth, the P&C decided to have a cake stall to raise funds.
I spent Friday afternoon and evening baking and packaging (chocolate chocolate chip biscuits, peanut butter biscuits, passionfruit yo-yos [melting moments], and, in a fit of enthusiasm, apricot and orange muffins the next morning!) and the P&C had requested we label items with an ingredients list.
Inspired by a recent posting by Emily of Saltwater Kids, I decided to make really nice labels (and I wasn't about to write out an ingredient list 5 times for my 5 bags of chocolate chip biscuits!).
Because I had a lot to say on my labels, I only printed and cut 2 from each 10x15 photo (which I printed at home, as it was the night before!).
Labels:
Cooking,
Paper Craft
Monday, August 9, 2010
A sundress for Fiji
Spotlight (left) had some jersey fabric, shirred at the top, and hemmed at the bottom. My friend Sarah bought the red and white stripe, which inspired me to buy the navy and white for a sundress for my Fijian holiday.
Sarah kindly marked the hem for cutting (as I stood, as generations of women having their hems taken up have, on the coffee table - Sarah says with wine glass in hand, but it's not true!).
I used the (copious) offcuts for the straps and frill.
Then off to Fiji for some serious location modelling!
Sarah kindly marked the hem for cutting (as I stood, as generations of women having their hems taken up have, on the coffee table - Sarah says with wine glass in hand, but it's not true!).
I used the (copious) offcuts for the straps and frill.
Then off to Fiji for some serious location modelling!
Labels:
Sewing
Thursday, June 24, 2010
Rainy day photoblocks
Usually when Dad visits he gets to replace all the blown halogen lights in the house. This left me with a stack of these:
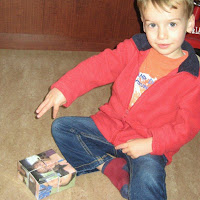
I'd been thinking about making some photo blocks for while, since seeing others on CraftGossip.com, but didn't want to make them out of fabric. Nor did I want to make them from wooden blocks, as did Missie Krissie, as my youngest is a "thrower". So small square cardboard boxes were just the ticket.
They came together pretty quickly, and as a final step, and to protect the print and the paper, I wrapped them in clear packaging tape.
I'd been thinking about making some photo blocks for while, since seeing others on CraftGossip.com, but didn't want to make them out of fabric. Nor did I want to make them from wooden blocks, as did Missie Krissie, as my youngest is a "thrower". So small square cardboard boxes were just the ticket.
If I was doing this again I would start by covering the boxes with plain paper and glue, to give a plain base to work on. As it was, I simply sized photos to fit the side of the four boxes, then using PhotoShop, cut the photo into quarters, and "spread out" the photo on the page before printing. This was so I would have paper to wrap around corners when I was sticking it on the boxes:
Choosing photos was fun. You don't often get photos with the subject isolated; often there is another head in the photo. This can work well, and make the puzzle a bit more tricky, if there is a quarter of someone else's head in the shot too.
They came together pretty quickly, and as a final step, and to protect the print and the paper, I wrapped them in clear packaging tape.
Labels:
Paper Craft,
Personalised Gift
Subscribe to:
Posts (Atom)